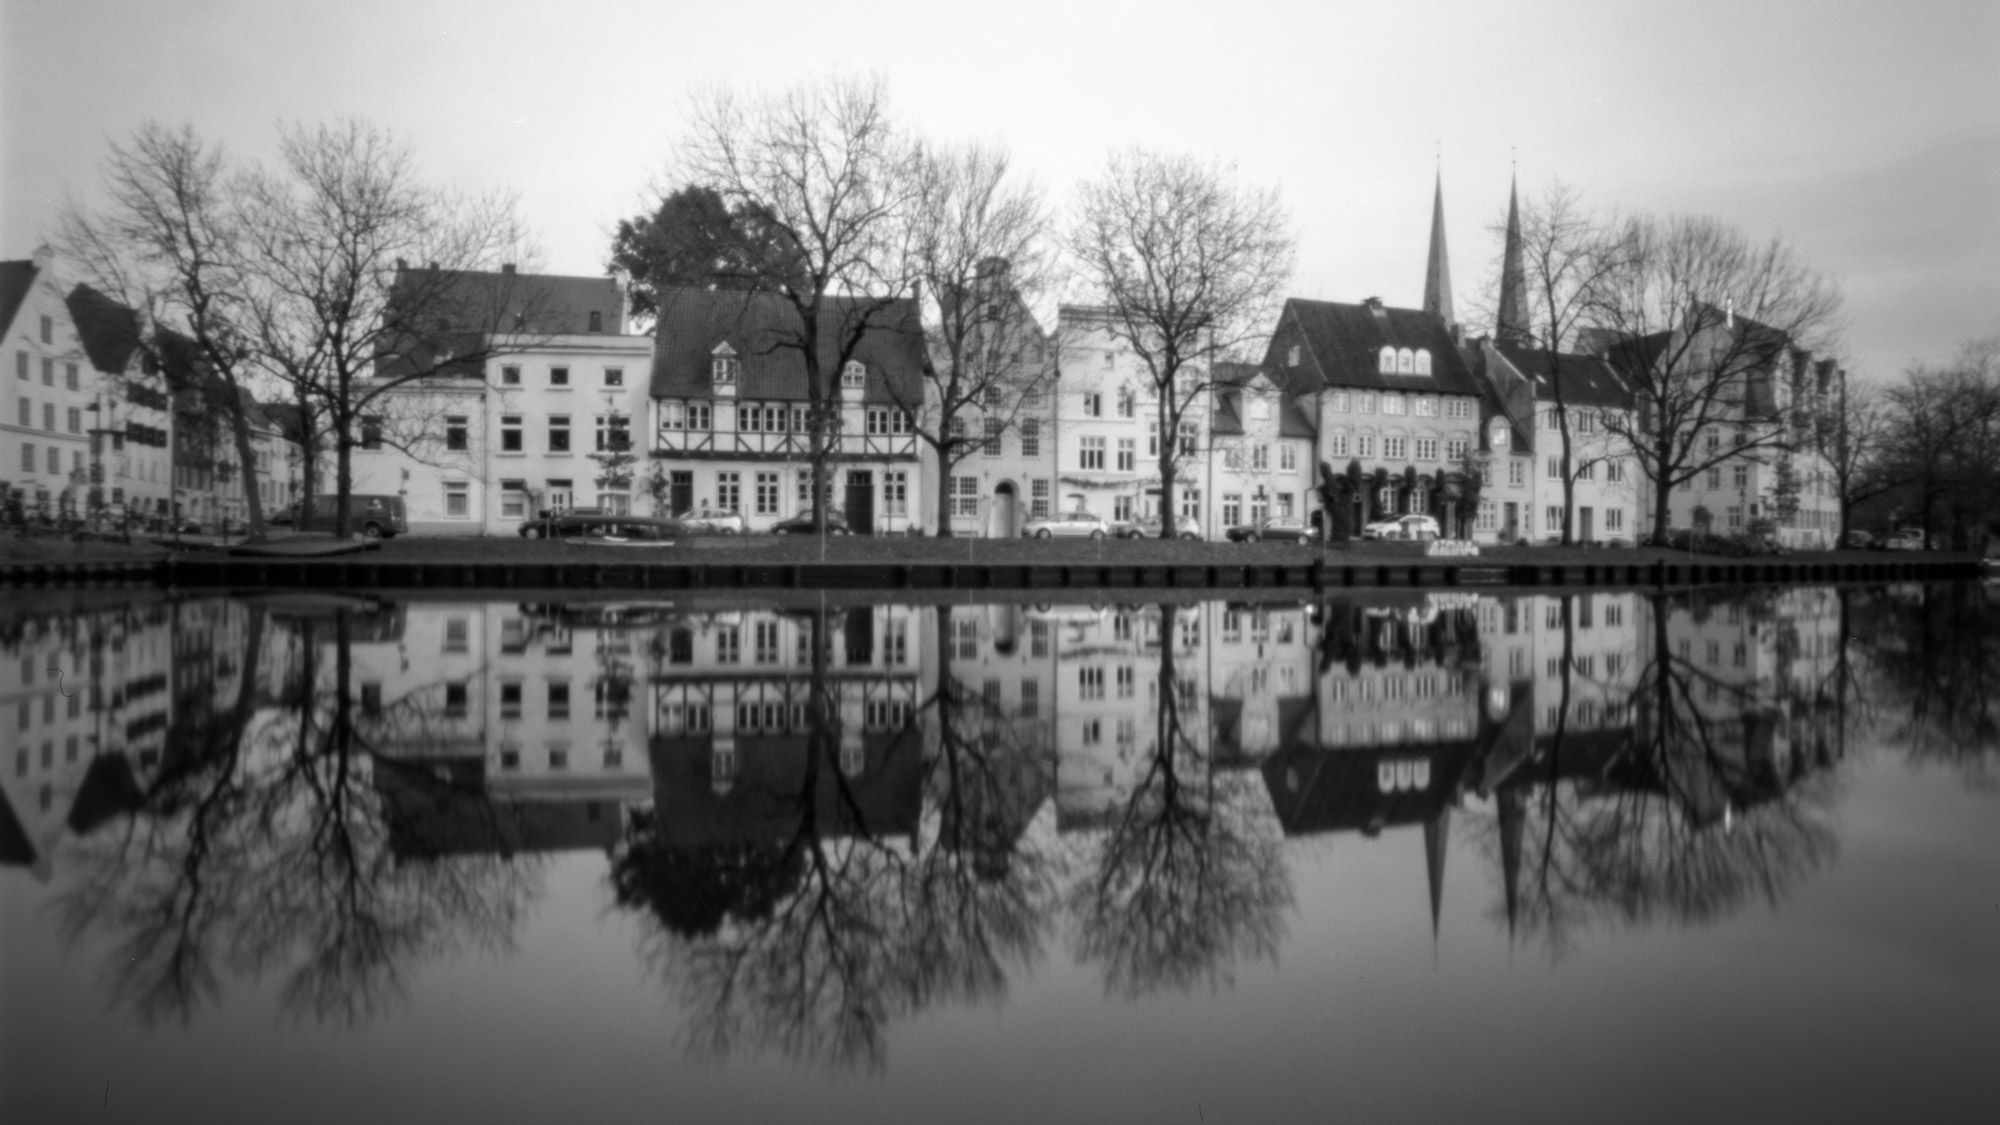
A Guide to 4x5 pinhole photography with a HARMAN TITAN
There was not much what I had known about large format photography some months ago. Only that there is a big wooden camera on a tripod and you see the frame upside down on a screen under a dark cloth. But I was curious about it and wanted to go into this field of photography which dates back to the 19th century. I'm still at the beginning. But I will give you a short introduction how I started with 4x5" photography with a pinhole camera.
BUT FIRST, WHAT IS LARGE FORMAT?
It is also refers to as sheet film with the most popular size of 4x5 inch (10x12cm) format. But it goes bigger up to 5x7" or 8x10" after that it's known as ultra large format. In comparison the 35mm film has a size of 24x36mm or medium format with the common 6x6cm frame. Because of the larger size each film sheet has to be placed in a holder.
Why large format and what's the main advantage?
- records an enormous amount of detail
- gains quality through the bigger the film size, because much more film is being used for the same scene
- enables a wide range of lens movements which leads to the amazing sharpness of the images
HOW I STARTED WITH 4X5 PHOTOGRAPHY
It began with buying an Intrepid 4x5 camera MK2 which was founded through a kickstarter project. That was a good starting point because of the increasing community and attention of the popular project. So a lot of information got published and also video material for my research what's needed. Meanwhile I took the first photos with the Intrepid camera. In the future this will be worth to tell you about.
As you can read in a previous blog article, I've recently become excited about pinhole photography. In the last few months I have gained more experience with the Holga 120 WPC pinhole camera and participated in Holga Week.
To go in the large format pinhole photography was the next step for me to experiment more with the 4x5 format. I brought a HARMAN TiTAN 4x5" camera which was more straightforward and easy to use than any other large format camera.
WHAT'S TO KNOW ABOUT THE HARMAN TITAN 4X5 CAMERA
- fits for the most common 4x5 film holder (Fidelity type).
- supports portrait and landscape orientation through 2 tripod mounts.
- comes with a 72mm wide-angle cone which is interchangeable and cones of 110 and 150mm are available.
- features built-in spirit levels and an accessory mount.
Specification for the 72 cone:
Focal length: 72mm
Pinhole diameter: 0.35mm
Aperture: F206
Angle of view: 97 degree
Specification for the 110 cone:
Focal length: 150mm
Pinhole diameter: 0.52mm
Aperture: F250
Angle of view: 73 degree
LET'S START WITH LOADING THE FILM
The main difference to the smaller formats is the loading of the film into the holder. Such a holder can take two sheets of film which must be loaded in complete darkness. Before I do that I clean the holder with a brush to remove particles which prevents the film from dust. The dark slide has two sides which can be used as a marker for unexposed (white side) and exposed (black side) film.
To load and unload the film I use a mobile changing bag which gives me enough space for the handling. Each film material has specific notches that are cut off on one short side. This can be used as an orientation in the darkness. Thereby you can easily find out which side has the emulsion so that the film comes correct in the holder. If you insert the film from the right side in the holder then the notches must be on the bottom of the right smaller side.
Additionally you should mark the holder with the film type which is loaded to avoid mismatches or wrong time calculations.
I recommend practicing these steps in daylight. Start with a sheet of film to get a feeling how to handle this in the dark.
FURTHER STEPS TO TAKE YOUR PINHOLE PHOTO
Preparation at home:
- Load the film in the film holder and notice the ISO.
- Prepare a time sheet according to your camera pinhole size and your chosen film.
- Make a conversion chart for the measurement of the exposure with your light meter (e.g. use f8) to your aperture of the camera (e.g. f206).
- Calculate the reciprocity failure for the time and your used film and add this to your chart. It saves a lot of time on location (see the example in this download).
On location:
- Set the camera on a tripod and compose the frame. Use a spirit level for an accurate composition.
- Measure the exposure time with a light meter for the given ISO.
- Calculate the exposure time for your aperture and consider the reciprocity failure if the time exceeds some seconds - use your prepared calculation.
- Expose the film via removing the dark slide and carefully opening of the pinhole cover.
- Start the timer and take the photo.
- Close the pinhole cover and insert the dark slide (with the black marker as it is exposed).
- Exchange / switch the film holder to the other side for the next picture.
Afterwards you have to unload the film in darkness. I develop the film by myself so that I insert the film sheets in a reel for the developing tank. I used the Ilford FP4+ film with an ISO 125 and chose the Ilfosol 3 b/w film developer (1+9) for a development of 4:15min @20°C. Then I let the sheets dry and scanned the films and that's it.
Finally I will show you some results of the photo sessions with the pinhole camera. I had chosen to capture some photos of the town I live -Lübeck- and was really happy to see the results.
I hope that I have covered all essentials for you to start with pinhole photography. How is your experience or do you have further questions? Please leave a comment below or get in touch via the associated media accounts.
"Enjoy taking photos!"
Camera Harman TiTAN Pinhole Camera
Film Ilford FP4+ developed with Ilfosol 3 (1+9) for 4:15 min @20°C
Useful links:
- Find more information about the contest at the Holga Week website.
- Look at the large format photography webpage as a great reference with links and tools.
- Visit my Flickr Album "Pinhole - Capture the Time" with more photos.
Additional information:
Example for exposure calculation used for the HARMAN TiTAN pinhole camera. This file can be used as preparation to get the compensated exposure time for the apertures f206 and f250 and b/w film Ilford FP4+ and Delta 100 exposure_compensation_sheet.pdf
Comments
Recent Posts:
Published at
11th November 2019
Author
Reading time / mode
Share
RssTags
Recent Posts
- Photo series: A winter day, captured on Kodak TRI-X 400 film
![Winter impressions in the snow by the river. Taken with a Minolta XD-7 camera on Kodak TRI-X 400 film. Winter impressions in the snow by the river. Black and white picture taken on Kodak Tri-X 400 film.]()
- Redscale film photography - the light from the other side
![Striking light. | Redscale pinhole photography with a Holga WPC 120 Redscale film photo shows a wood scene with a lot of trees and a striking light beam.]()
- Autumn walks and discovering the Kodak Gold 200 film
![Lights will inspire you. | taken on Kodak Gold 200 color film. Colorful Autumn path way with trees and sunshine.]()
- Photo series: Wakenitz taken on LomoChrome Purple color film
![Fern taken with LomoChrome Purple XR 100-400 film Fern in purple colors.]()
- Photo series: FP4 Party week and my foggy images
![Faded lights. | Hasselblad 500 CM taken on Ilford FP4+ film for the FP4 Party week Foggy view of a mystic path way along with trees and a biker in the center.]()
- Photo series: Discover the LomoChrome Metropolis film
![At any time. | LomoChrome Metropolis film | Fujifilm GA645Wi Skyline of Frankfurt am Main framed view through the bridge construction.]()


